
Introduction
If your mouse feels too slow or too fast, it might be your DPI or polling rate settings, not the hardware. Whether you’re gaming, working, or just browsing, you can completely change your experience by customizing these settings.
In this guide, you’ll learn:
- How to set DPI on your mouse
- How to change the polling rate (for any mouse and for Logitech specifically)
- How to change your mouse cursor for better visibility
It’s time to get started!
What is DPI and Polling Rate?
- DPI (Dots Per Inch): Controls how sensitive your mouse is. Higher DPI = faster cursor movement.
- Polling Rate (Hz): How many times per second your mouse reports its position to the computer. A higher polling rate means smoother and more accurate tracking.
When you optimize both, speed and precision are perfectly balanced.
How to Set DPI on your Mouse
Depending on your mouse model, you can set DPI in different ways:
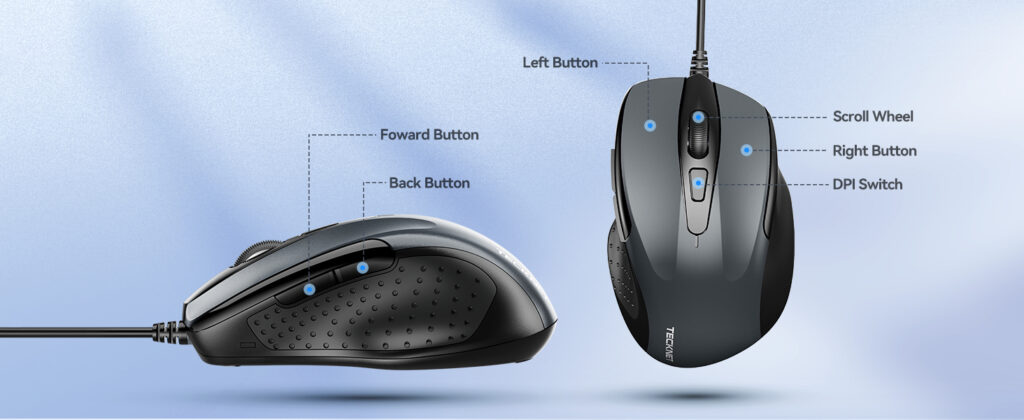
1. Use a DPI Button (Common in Gaming Mice)
- Many gaming mice (Razer, Logitech, SteelSeries, etc.) have dedicated DPI buttons.
- Press it to toggle between preset DPI levels (e.g., 400, 800, 1200, 1600).
- Some mice allow you to customize these presets in their software.
2. Using mouse software
- Logitech G Hub, Razer Synapse, Corsair iCUE, SteelSeries GG let you set exact DPI numbers.
- You can create profiles (e.g., 800 DPI for gaming, 1600 DPI for work).
3. Windows Settings (for Basic Mice)
- Go to Control Panel > Mouse > Pointer Options.
- Adjust the “pointer speed” slider.
Note: This doesn’t directly change DPI but substitutes basic mice.
How to Change Mouse Polling Rate
There are several gaming mice on the market that support adjustable polling rates, including 125Hz, 500Hz, and 1000Hz.
Method 1: Software (Best Way)
- Open your mouse software (Logitech G Hub, Razer Synapse, etc.).
- Look for Polling Rate settings.
- Select your preferred value:
- 125Hz = basic tasks
- 500Hz = balanced (gaming + work)
- 1000Hz = competitive gaming
- 125Hz = basic tasks
Method 2: Mouse Button Shortcut
In some mice, you can cycle the polling rate by holding a combination of buttons (check your manual).
How to Change Polling Rate on Logitech Mouse
Here’s how to use a Logitech gaming mouse:
- Download and install Logitech’s G Hub from the official website.
- Open the software and select your mouse.
- Go to Settings > Polling Rate.
- Choose between 125Hz, 250Hz, 500Hz, or 1000Hz.
- Save the settings (they’ll apply instantly).
Pro Tip: Competitive gamers usually use 1000Hz for smoother tracking.
How to Change a Mouse Cursor?
Performance isn’t the only thing that matters visibility is too. You can customize your cursor in Windows by following these steps:
- Press Win + I → Go to Settings.
- Click on Devices > Mouse > Additional Mouse Options.
- Under Pointers, choose from the default Windows cursors or browse for custom ones (.ani or .cur files).
- Click Apply and enjoy your updated look.
It is especially helpful for people who use large monitors or have vision problems.
Tips for Beginners
- Start with 800 DPI + 500Hz polling rate if you’re unsure.
- Test different setups in games and daily tasks.
- Save multiple profiles (gaming, work, browsing).
- Use a Mouse Sensitivity Calculator to keep sensitivity the same across different games → Try it here.
FAQs
Q: What DPI should I use for gaming?
A: For FPS games, 400–800 DPI is best. For MMOs or general use, 1000–1600 DPI works well.
Q: Does polling rate affect FPS (frames per second)?
A: No, a polling rate doesn’t lower your FPS. It only changes how often your mouse communicates with your PC.
Q: Can I change the DPI without software?
A: Yes, if your mouse has a DPI button. Otherwise, you’ll need software.
Q: What polling rate should I use for work?
A: 500Hz is smooth and efficient without overloading your CPU.
Final Thoughts
Customizing your DPI and polling rate isn’t just for pro gamers—it can make everyday tasks easier and more comfortable, too. The mouse settings allow you to optimize speed, accuracy, and comfort for gaming and productivity.
Would you like to test your mouse right now? Try our free Mouse Sensitivity Calculator to find your perfect setup.